Written 30 Nov 2023
Updated 14 Jan 2025
Note from Michelle: This article was first written November of 2023, all prices and price conversions were made at this time and are subject to change. Keep an eye on current currency equivalents if you are planning a trip or using Japan’s public transit system. The ELK app is a great tool to check these.
Japan’s public transit systems are some of the best in the world and by far the best I have ever experienced. It is so sensibly laid out that if – like me – you have very little public transit experience, you can still have it completely figured out in a day or two. In this post, I will be laying out the main ways to pay for trains, buses, or subways, as well as how to navigate each type of station. While it might sound daunting, by the time you finish reading, you will be a Japan Public Transit Pro™️.
This article was made with those who get a bit anxious about making a mistake while using transit in Japan, so I get thorough. If ever you have any questions, feel free to leave a comment or shoot me a DM on my Instagram and I will be happy to offer what assistance I can. A little tip before I begin: have a plan for if you get on the wrong train. This is difficult to do on trains that go long distances between stops, and more common on trains or subways that stop every two minutes. My rule of thumb was to watch my GPS if I got on the wrong train. Once I confirmed if we were on the wrong track, I would get off at the next station and switch lines (which are usually on the other side of the platform, which takes all of 5 steps to get to.) It is no big deal at all. Before I dive more into navigation, first I want to cover how to pay for public transport in Japan.
Most popular for international tourists, the JR passes are a convenient way to travel. You can purchase these passes for different lengths of time and use them as much as you want at any JR train, subway, and even a select few JR buses. We purchased a JR Pass for 2 weeks the first time we visited Japan (2019) and it was awesome for exploring large metropolitan areas like Tokyo, as well as going long distances between major cities. There are a few perks and drawbacks to the JR pass:
Japan’s Public Transit Breakdown
JR Passes
Perks:
· Super convenient! To get onto a Shinkansen, you just have to flash your pass to an attendant and they will reserve a seat for you (as all Shinkansen + the Nozomi are reserved seating.) On this second trip to Japan, we did not opt for the JR Pass and had to stand in a long line to reserve both our tickets and our seats. You have to pay both your fare and for the express train reservation, whereas for any normal train, you would just pay for the fare. JR Passes cover both of these.
· To get on any other JR Train that doesn’t require reserved seating, you simply show your pass at the gate window and go to your train. It is SUPER simple.
· You don’t have to refill money onto your pass like you would an IC Card, which does remove the trip to ATMs (and any applicable fees incurred.)
*Side note, we use the Charles Schwab card as it has no international fees or ATM fees, which saves a tidy sum if you are going to ATMs abroad often.*
Drawbacks:
· As of October 2023, the price has increased to 80,000 yen (the equivalent of $537.75 USD at the time of writing this.) Public transit itself is very inexpensive (Like 170-230 yen for a bus ride and slightly more than that at the subway or for non-JR trains depending on how far you go.) I will show a cost breakdown below, but for us, it wasn’t worth the price.
· JR passes do not include the Nozomi – one of the fastest bullet trains in Japan. To get from Kyoto to Tokyo on the Nozomi took us 2 hours and 15 minutes, but the other main options vary from 2 hours and 40 minutes to 3 hours and 40 minutes. If time really matters, I would choose the Nozomi to maximize your time enjoying the beautiful country. The pass does cover the Hayabusa Train in northern Japan (Hokkaido area,) which is currently the fastest bullet train in Japan.
· JR Passes don’t work at non-JR lines. As you get away from major travel hubs like Tokyo, Kyoto, or Osaka, fewer JR line options are available. This means that you will have to pay for the subways, trains, or buses you plan to use. If you were hoping to save money, the JR Pass is no longer the way to do this, at least until their prices drop (if they ever do.)
Why doesn’t the JR pass cover the Nozomi? According to the JR Site:
“The answer is twofold. One reason is to keep the Nozomi for commuter travel only, and second is to offer the JR Pass at the price it currently is. Including the Nozomi would up the price significantly.”
Onto Option B – IC Cards
Important update for IC Cards:
Update posted 14 Jan, 2025
Due to an IC chip shortage, all the IC Card companies have suspended selling blank IC Cards. Luckily, they offer a personalized IC Card option where you register your information at any ticket counter or machine. This will get you the personalized IC Card and help the governing body of Japan’s transit systems keep track of sales and, hopefully, prevent misuse of IC Cards.
There is also an option to buy a “Welcome Suica,” the traveler/visitor version of the classic Suica card. These are available at both Tokyo airports, the Travel Service Centers located in Tokyo, Shinagawa, Shibuya, Shinjuku, Ikebukuro, and Ueno stations, and the Japan Rail Cafe in Tokyo Station.
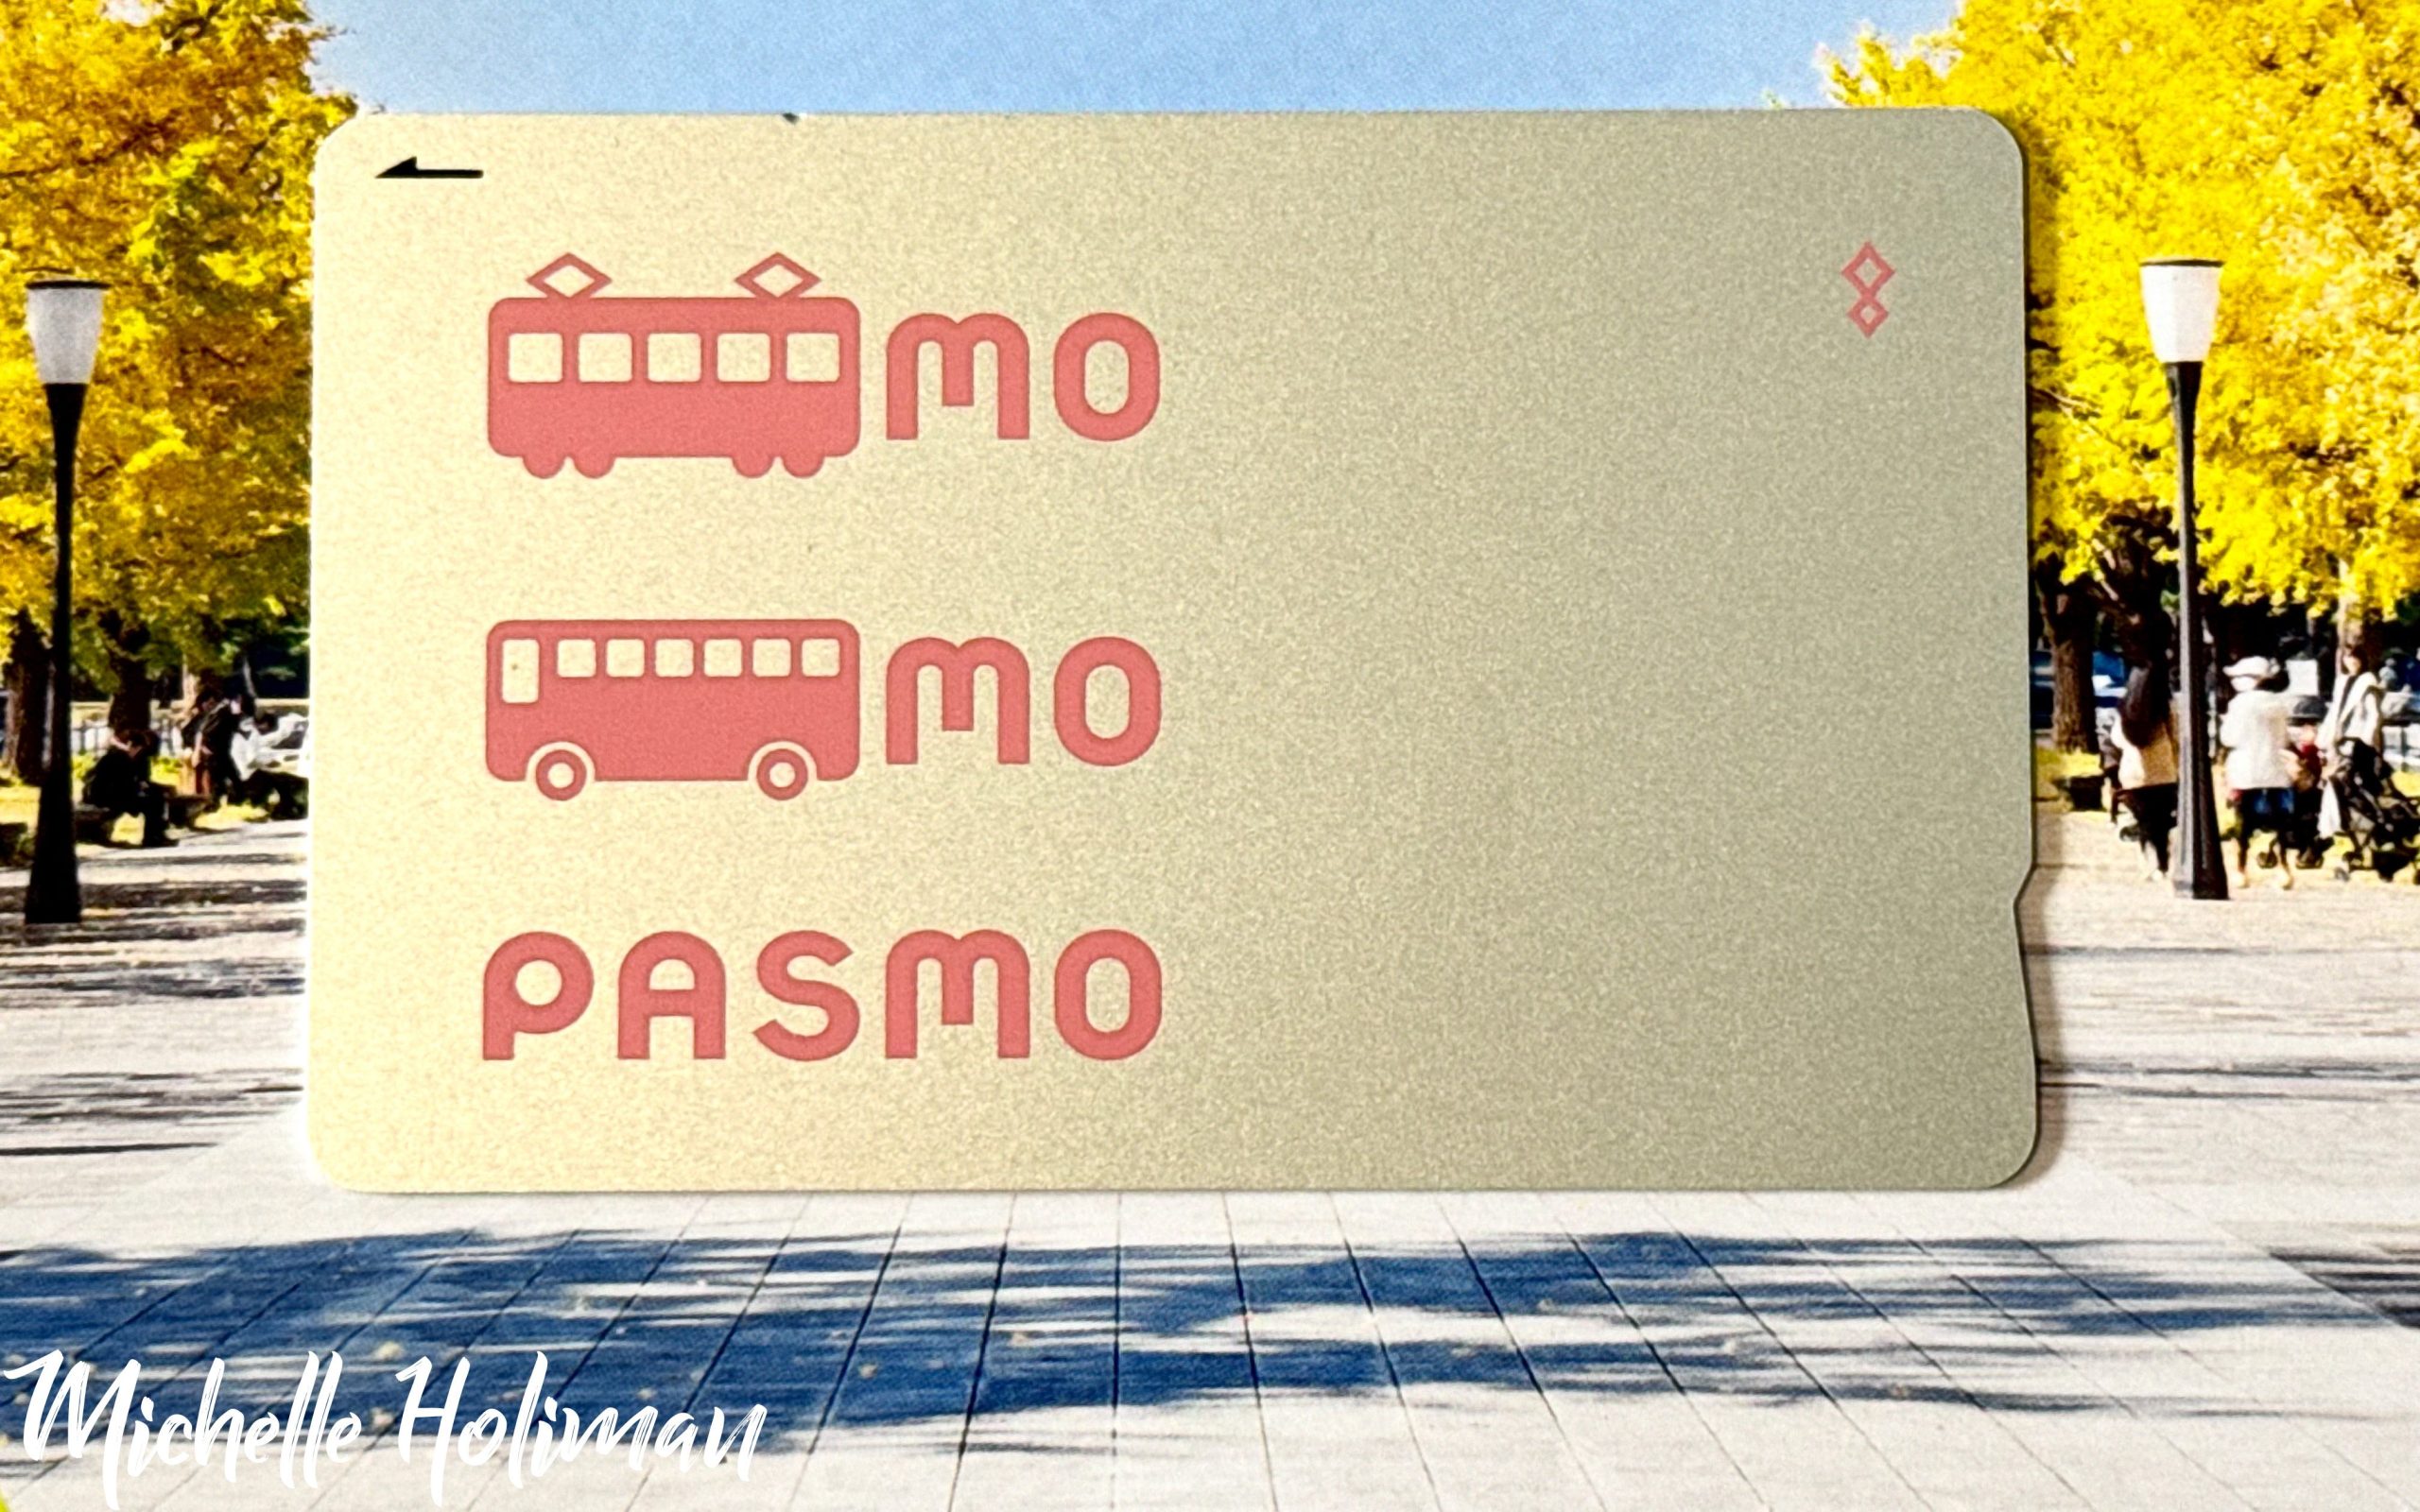
Another option for using Japan’s public transit is getting an IC Card. Everywhere accepts these, from busses, trains, subways, airport express trains, and even some vending machines. They are simply a card with money loaded onto them – like a debit card. You put money onto physical cards by visiting an ATM with IC charging capabilities. Any 7/11 ATM will do it (and they are EVERYWHERE.) As of late physical copies are not as available due to chip shortages. Certain places, like the Haneda and Narita Airports, and many train stations sell some, so keep your eye out. You can purchase them online in advance and have the company mail them to you before your trip. We did this option for our Pasmo Cards and it was very convenient. The other option is to get a digital version, add it to your iPhone’s mobile wallet, and recharge it through Apple Pay. For non-iPhone users, you can download the specific IC card apps, but they are created for Japanese residents, are only in Japanese, and require a feature not found on mobile phones made outside of Japan. I would NOT recommend doing this and purchasing your card in advance.
Top 3 Most Common IC Card Brands are:
- Pasmo (we used this one)
- Suica
- ICOCA
Here are the Perks and Drawbacks:
Perks:
· Charge, tap, go – it is so easy. When you get to the gate, tap the IC pad with your card or phone, the doors will open, and the display at the end will show your balance. Is that all you have to do? Yep. That is it!
· These cards are accepted everywhere. The main drawback of the JR pass is if you choose to not take a JR train, you have to pay for your fare (which is almost always done by loading up an IC Card and tapping it at the gate.) I did not encounter a single train, subway, or bus that didn’t take IC cards
Drawbacks:
· While IC Cards come in a digital version, my mobile wallet had issues downloading mine, but had no problem with my husband’s. Should you want to use Japan’s public transit with an IC card, and can’t get it to download or connect to a payment type, you will need a physical card BEFORE you take any kind of transit.
· The IC Cards do not cover highway bus fare. These busses are closer in style to Greyhound busses or tour busses.
· You have to keep track of and reload these cards. This may mean you make frequent stops at the 7/11 ATM to put more money on. This may be irksome to some people, and slightly inconvenient if you are low on funds and have to stop your fun-filled day to recharge. Make it an experience by grabbing a Pocari Sweat and a snack, it will only take about 5 minutes.
· DO NOT RUN OUT OF MONEY ON YOUR CARD! I cannot emphasize this enough. One person did not have enough for her full fare and the driver held the bus until she got exact change from her bag to pay for the ride. What would happen if you ran out and couldn’t pay? I have no idea, but I didn’t get the chance to test it out. Train & Subway gates will alert you if funds are too low. There are always ATMs in the immediate vicinity if you are in this situation. A good rule of thumb in Japan is to always have cash on you, we had about 10,000 yen ($66 USD) between us, which felt pretty good. A fair amount of places we went to were cash only anyway, so it is a good idea to be prepared.
Now that you know how to pay, let’s talk about how to use Japan’s public transit.
Shinkansen and Nozomi
Bullet trains are perhaps the most famous of Japan’s public transit. They are comfortable, relatively inexpensive, and insanely fast. They are the most complicated trains to book in Japan, which isn’t saying much because all the transit is super simple to use. Essentially you need one extra ticket compared to any other train. These can be purchased in any train station (with a Shinkansen track of course) in the main Shinkansen ticket office. These are clearly marked and easy to find, simply follow the signs to the booths and hop in line. Let the agent know where you are going and they will get everything booked and purchased for you. You can also buy some of these online in advance, and then get your physical tickets at the kiosks. I should let you know that this is an “advanced train user move™️.” If you have connections you NEED to make to other trains and don’t purchase online correctly, you may miss your connections. Imagine if you booked two flights back-to-back manually, but overestimated your speed in the airport and missed your second flight. Same idea with manually booking trains. In addition, not all routes are available to be booked online. If in doubt, have one of the kind and knowledgeable desk agents book it for you.
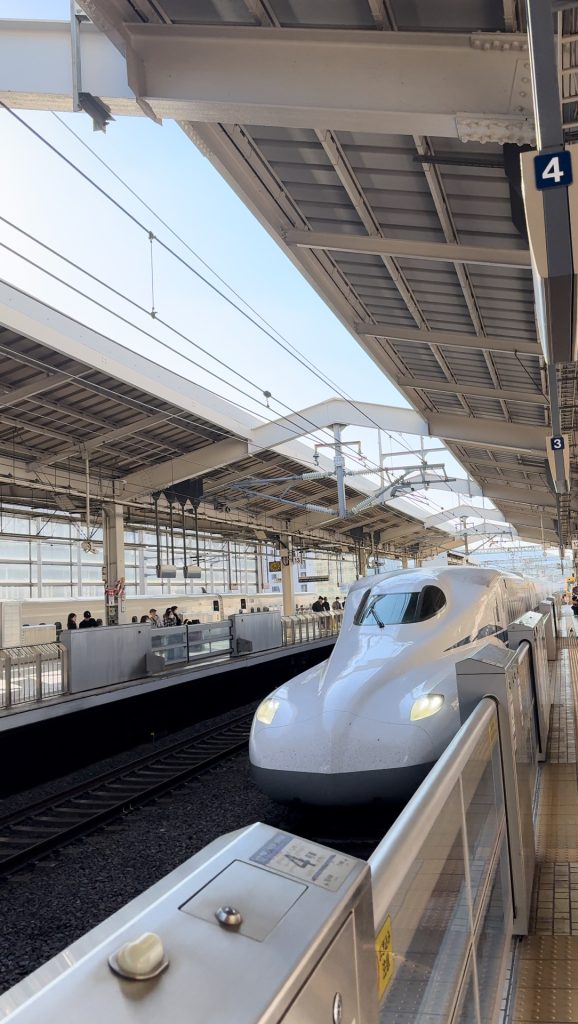
As I mentioned earlier on the page, these types of trains require reserved seating. Much like a plane, you cannot get on without a reservation. This means you MUST plan extra time in your travel to book your tickets. This ~usually~ doesn’t take a long time, but we once waited as long as 45 minutes to get our tickets booked. If you need to be somewhere at a specific time, you should try to arrive early at the station to get this squared away.
Once you get your tickets, follow the marked signs to your Shinkansen’s platform. Once you arrive at your platform the digital signs above each platform will display when each train is coming and on which side of the platform. Double-check this and then stand on the correct side. Each station will have half walls separating you from the trains, and these often have automatic gates that open when the train has stopped moving.
*A side note about specialty cars*
Many trains have “women-only cars.” This is clearly displayed with pink signs on the train car, in the train car, and on the floor markings on the platform. If you are waiting for your train and notice the floor markings are pink, the train car that stops where you are standing is for females only. While some of these cars only use this rule during specific times, it is better to be safe if you aren’t a female and pick a different car.
Green Cars are distinguished the same way that female-only cars are – with colored labels on the entry doors, inside, and on the standing area for that specific car. As you probably can guess, green cars are denoted with large green labels. The Green Car is a fancy train car much like the first-class seats on an airplane. They cost extra and are extra nice. If you didn’t pre-purchase a ticket onto one of these, pick a different car to board from.
High-Speed Train Etiquette Tips:
- Stand behind the yellow lines when the train is approaching.
- Book your seats near the bag storage area if you have large luggage items. The bag storage area is specifically for passengers in those seats. Otherwise, you store your luggage on the rails above your head. If your luggage is too large, you will have to hang onto it. You can store your bags in these areas IF no one’s luggage is there, but if someone occupies the seats, the storage area is technically theirs.
- As with ALL public transit in Japan, talking on your phone or playing any sort of audio is considered rude. Pop in your headphones and silence your phone.
- On high-speed trains, it is not considered impolite to eat on the train. For other trains or subways, it is. If in doubt, high-speed trains have tray tables to make eating cleaner and easier. You will not find tray tables on the other kinds of trains.
- Listen to the announcements – usually told first in Japanese, then in English. They are useful to know how close you are, and, in some situations, the conductor will ask everyone to switch the seat’s directions. If this happens, a lever is on the aisle side of the chairs. Push this lever and swing the chairs around.
Local Trains and Subways
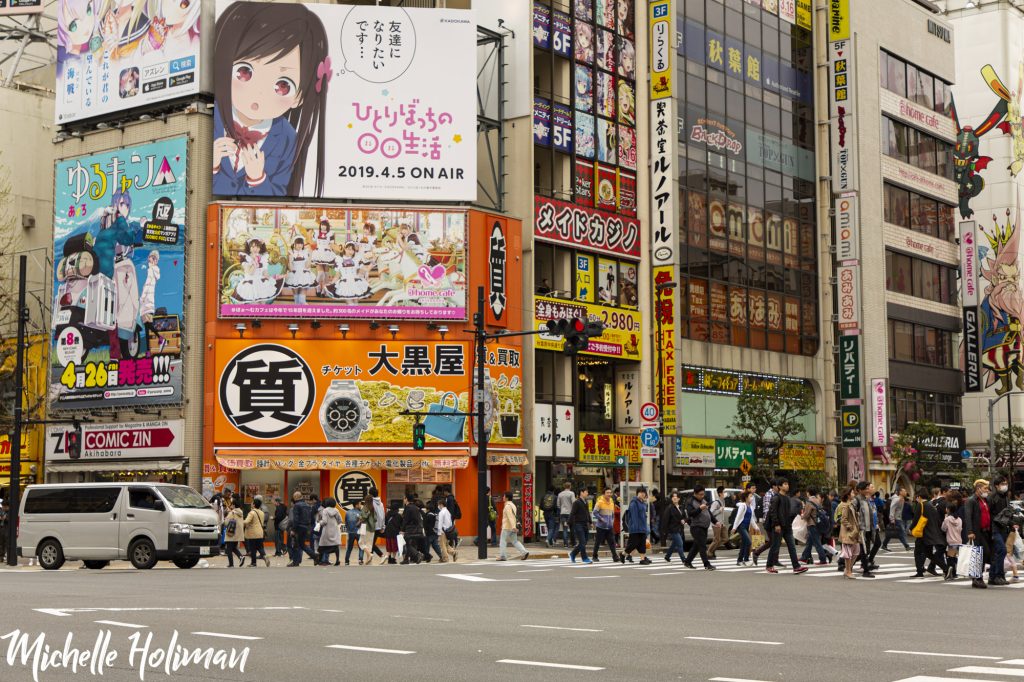
Local trains and subways are thoughtfully laid out and directions are available in both Japanese and English everywhere you go. The best part is that this form of Japan’s public transit is color-coordinated. If you take the Hankyu line and it is circled in purple, follow all of the purple arrows and you will find the correct platform. Once you tap your IC card at the gate, you can follow these signs. Then you must determine which direction you are going. If you look at the walls behind the trains or on the maps between the platforms, you will see signs with arrows pointing in the directions the trains are going. Then you should see labeled where you are, the stop the train is coming from will be listed on one side, and the stop where the train is going will be listed on the other with an arrow indicating the direction the train is going. Take a few moments to study the maps or information noted on the boards to help you better understand the area or any alerts there may be.
This method is quite useful if you have no other way of routing yourself and are told which line you need to take to get to your desired stop. The good news is both Apple and Google Maps are excellent and hyper-specific at getting you to the right station, platform, and even the best train car to get onto. I recommend using a GPS like this to route you, and then the aforementioned information to double-check your navigation.
After riding to your stop, tap the IC card spot to be let out of the main gate area. Note which exit number you take when leaving your subway or train station. Sometimes your GPS will recommend taking a specific exit to be closer to your intended destination. It is also wise to remember where you came from to be able to orient yourself should you need to return the same way.

Local Train tips:
- Sneezing or coughing loudly will earn you some side-eye from the locals on the train. If you are genuinely sick, it is a cultural standard to wear a mask. If you are not sick, try to sneeze/cough into a tissue or elbow as quietly as you can.
- Blowing your nose loudly will also earn you the side-eye.
- Priority seating is for those who need it. If there is no one on the train that needs the seats or the train is mostly empty, you can occupy those seats. If the train is busy or you see a person who may need a seat, be sure to offer your seat.
- As with high-speed trains, loud noises like talking on your phone or playing audio are considered very impolite and inappropriate. Keep headphones in, talk at a low volume, and silence your phone.
Busses
Busses work the same way they work in the US, with buttons to press should you need to get off and priority seats for people in need. To use the bus, enter through the middle door, never the front. If you see an IC card tap pad, this bus charges you by distance, not a flat rate. Tap your card when you get in. Then, when your stop comes, exit through the front of the bus by the driver, tapping your card on your way out. If the bus does not have an IC card pad by the middle doors, it is a flat rate fare. Pay these when you leave! There are certain bus lines where you can purchase day passes and you pay a flat rate for the whole day. This can be an awesome deal if you want to see a lot of sights in one day. We saw these in Kyoto and they covered a huge amount of the city, but if you leave the major metropolitan area, you have to pay a supplemental amount to cover the extra distance.
My actual cost of using Japan’s public transit for 2 weeks (for a single person)
Cities Visited – Sapporo, Kinosaki Onsen, Kyoto, Osaka, and Tokyo
Flight from Tokyo to Sapporo – 9,090 yen = $60.79 (via Jetstar)
Flight from Sapporo to Osaka – 14,890 yen = $99.58 (via Jetstar)
Express Train from Osaka to Kinosaki Onsen – 7,660 yen = $51.21
Kinosaki to Kyoto – 5570 yen = $37.24
Kyoto to Tokyo via the Nozomi price on 11/7/23 14,170 yen = $94.74 (most expensive total train ride.)
Total IC Card used for subways, short train trips, and busses 13,000 yen = $86.92
Total spent on public transit = $270.11 (difference between the total cost of a JR pass and what we spent = $267.64) Flights are not calculated as they aren’t a form of public transit that could be covered by JR passes. Even if they were, the savings difference still favors not purchasing a JR pass.
Final thoughts:
As of right now, I do not think it is a better deal to get a JR pass. I liked having it in the past when it was less than or equal to $300 per person, but at its current price, I don’t think I would purchase it.
Japan’s public transit is incredible . It is easy to learn and use and the most cost-effective way to explore the beautiful sights, cities, and countryside of Japan.
Did you know I wrote an eBook about exploring and photographing Japan? Check it out here!
Useful links:

