So you plan on visiting the US Virgin Islands? I completely support this decision! If you are a US resident, you don’t need a passport; these islands are significantly less crowded than other islands (looking at you, Oahu). They can be a pretty inexpensive flight, depending on the time of year you visit. While there are around 50 islands that make up this US territory, the big three are St Thomas, St John, and St Croix. This guide’s primary focus is to give you an idea of the opportunities, my recommendations, and the vibes each of these islands has to help you decide which island to visit and what experiences to enjoy!
If you are driving around the islands, many roads are steep, and potholes are quite common. A Jeep is a common sight when visiting the US Virgin Islands. Be sure to book yours well in advance. I was grateful I had one to scoot around the islands!
I am not one to be too long-winded, so with that, let’s dive in!
St Thomas
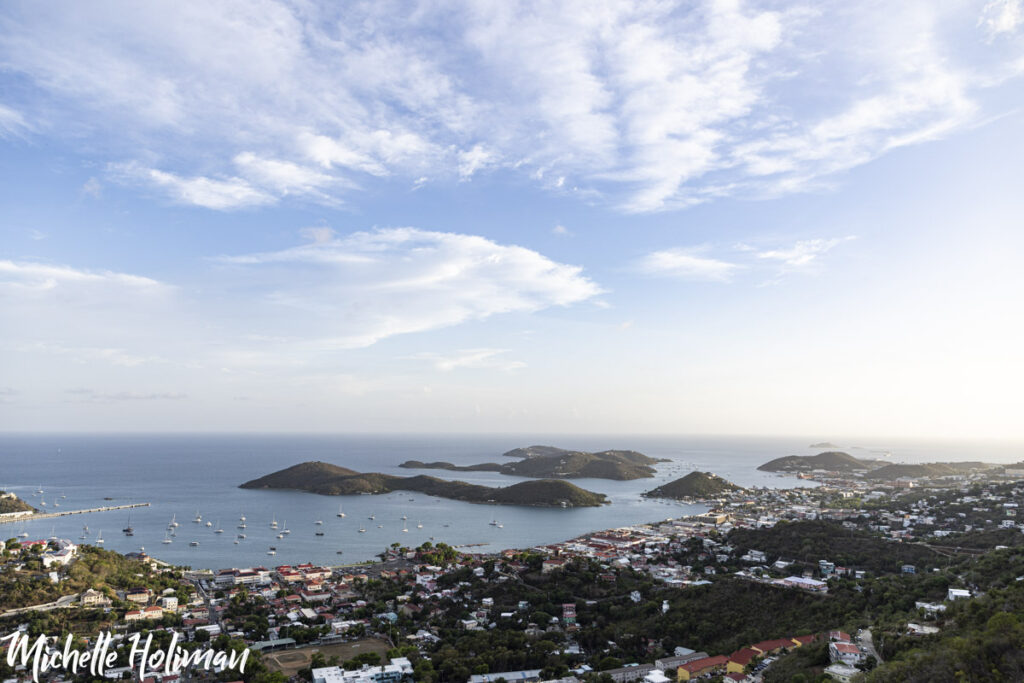
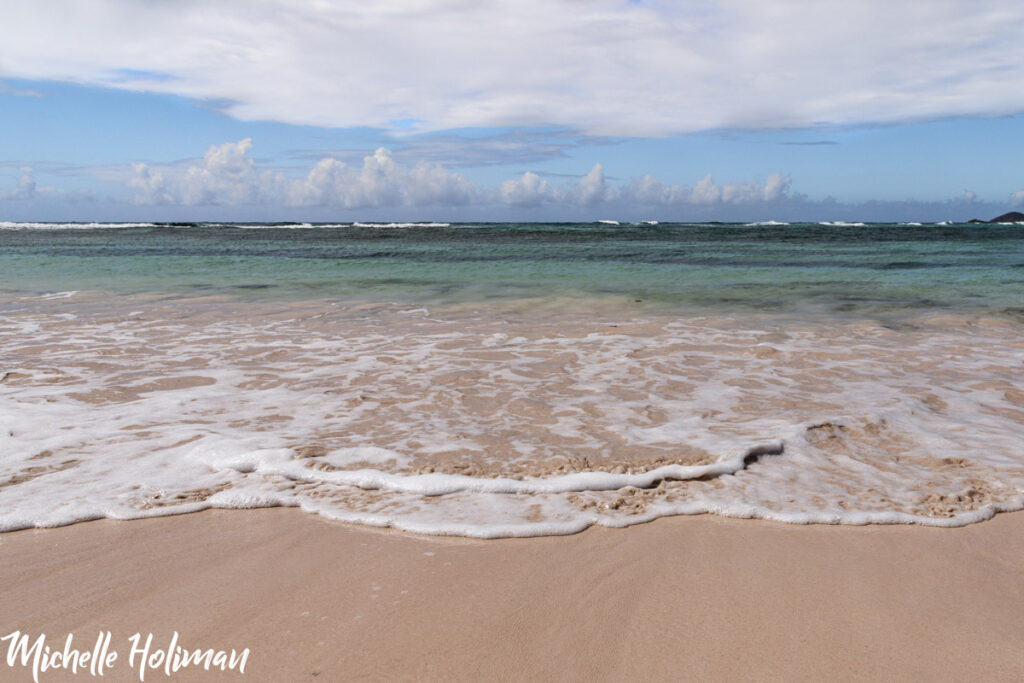
As the most popular island, St Thomas is built for tourism. From shopping in the historic Charlotte Amalie to the countless scuba diving, snorkeling, and boating centers, St Thomas has something for everyone. The main airport is on this island, and it is a regular stop for many Caribbean cruise lines. Travelers cannot get enough of the soft, sandy beaches, glittering turquoise waters, and postcard-perfect views of palm tree-lined coves. That being said, it is easy to flounder (perhaps a fish pun?) in all the adventure and relaxation opportunities. That and it means that St Thomas can be crowded, which can get in the way of experiencing all the iconic things this island has to offer.
So if you want to avoid crowds, I have found the ultimate live hack for visiting the US Virgin Islands: Check the cruise ship schedule. Seriously, don’t skim over this point. You can find the schedule in the airport or at the port where your ship has docked, often it is in a free magazine or newspaper.
Checking this schedule allows you to plan your trip better. You can avoid the tourist hot spots on the days the ship is in town, and hit those areas when the ship is gone. I did this on my trip and had Magen’s Bay Beach entirely to myself. Now I recognize this is a tip more for the folks spending a few days on St Thomas, but if you want to avoid crowds and you are on a cruise, you can visit some of the other gems listed below. Let all your cruise buddies go to the hotspots, while you sneak away to your own special places. Or don’t; I can’t tell you how to live your life.
Beaches
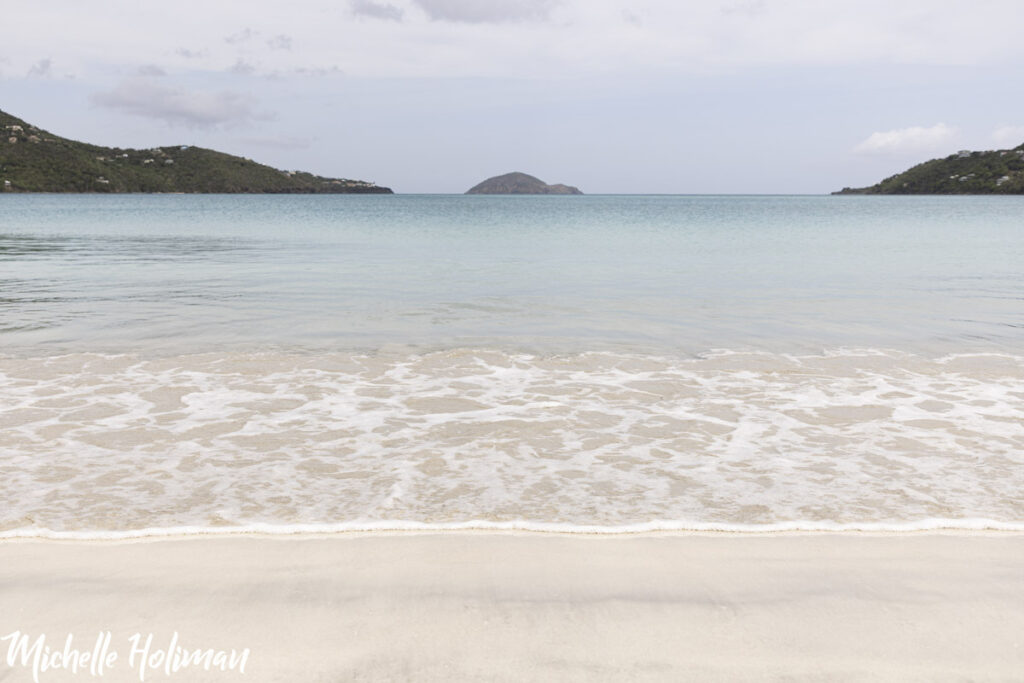
- Magen’s Bay – often quoted as one of the most beautiful beaches in the world, this is not one to miss. If the cruise ship isn’t in, getting here at a reasonable time in the morning will reward you with an empty – or nearly empty – beach. I visited around 9 am in mid-May, and the beach was EMPTY! If you are visiting the US Virgin Islands, this is one you do not want to miss.
- Sapphire Beach – like the name suggests, the sparkling Sapphire waters offer an inviting view for photos, and a refreshing spot for swimming.
- Coki Point Beach – Music from the nearby beach bars bumps a fun and easy-going vibe that this beach is known for. This beach can get crowded, and is more of a party beach than other ones. It is right down the street from Coral World Ocean Park, which is a great spot for undersea lovers as it boasts an underwater observatory.
- Secret Harbor Beach – More of a hidden gem, this less-visited beach is tucked away in a small secluded cove. This makes it a perfect spot to avoid crowds, and the snorkeling is pretty good on the rocky side of the harbor.
- Lindquist Beach – I didn’t get a chance to see this beach, and I really wish I did! Many visitors name this as their favorite beach on St Thomas, and the photos I have seen look so beautiful. If you end up going to this one, shoot me a DM and tell me if you liked it!
Views
- Mountain Top – Home of the famous Banana Daiquiri, other than that, it is a great place to get souvenirs. The best part is the impressive view from the back patio! On a clear day, you can see the British Virgin Islands.
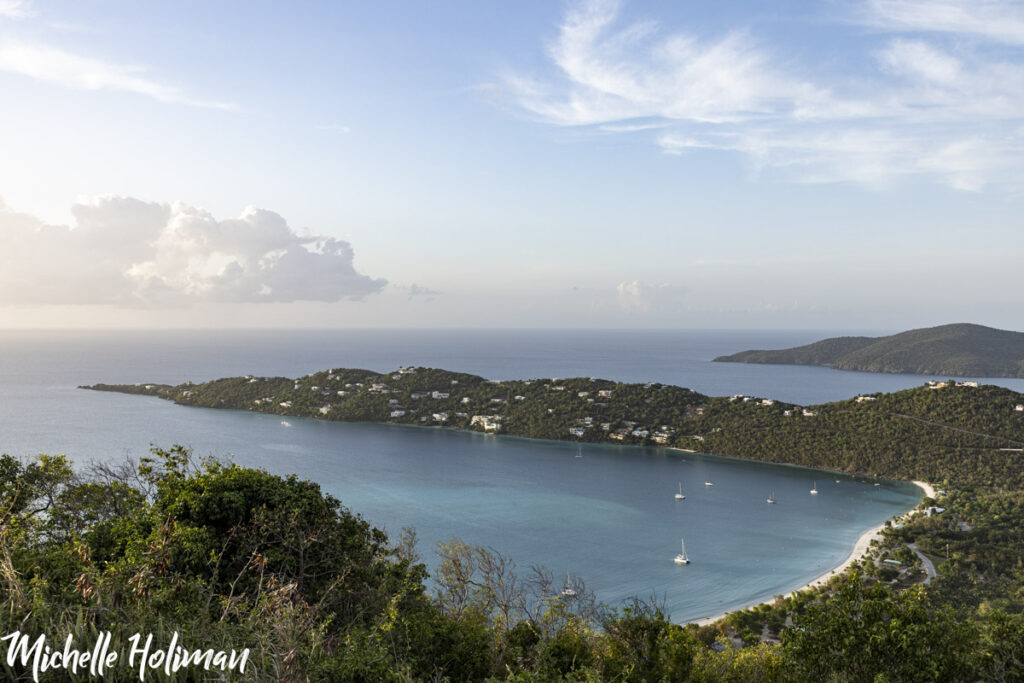
- Drake’s Seat – this is a PERFECT spot to watch the sunset with a spectacular view over Magen’s Bay.
- Charlotte Amalie Overlook – To see sweeping views over the entire city of Charlotte Amalie and the bay beyond, take a quick drive to this overlook point. This is a free spot to stop and take in the view, and it does have a decent amount of parking. It is basic as far as amenities go, but great for a quiet moment with a view.
- Paradise Point Overlook – For another gorgeous view of the bay and Charlotte Amalie beyond, stop at this overlook. If you want a less basic experience, take the gondola up and add a dinner at the restaurant. Be sure to check the hours of operation before planning this one, as it might be closed if no ships are in town.
Must Do
- Historic shopping district in Charlotte Amalie – a perfect place to pick up cute clothes, unique jewelry, or have a tasty lunch!
- Water Island – rent a golf cart IN ADVANCE and take it to the decommissioned fort at the highest point on the island, aka Fort Segarra. Finish the rest of your day spotting sea turtles at Honeymoon Beach (which is my favorite beach on St John.)
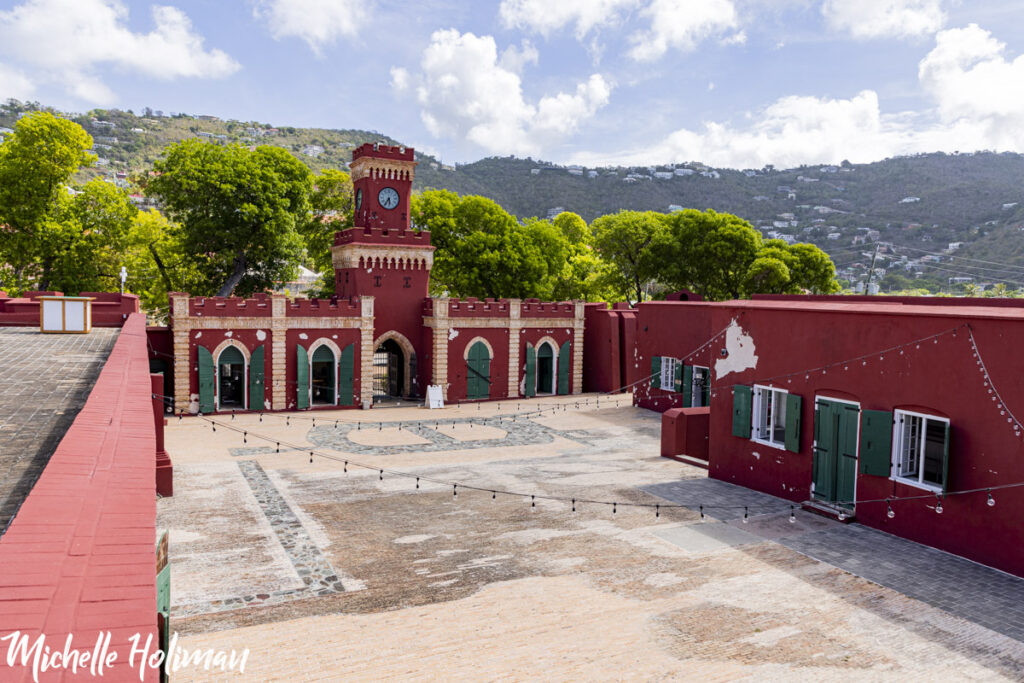
- Tour Fort Christian – Visiting the US Virgin Islands can be just as much a history lover’s trip as it is a beach lover’s, and this Dutch-built compound is a significant part of St Thomas’ past. In the main building, you see beautiful recreations of rooms made for church gatherings, living areas, and governmental spaces. On the lower level is the dungeon – many enslaved people lived and died here. I loved reading about their stories, and learning more about St Thomas than taking it simply as a tourist destination. If you are open to feeling some things more than vacation vibes, take some time here.
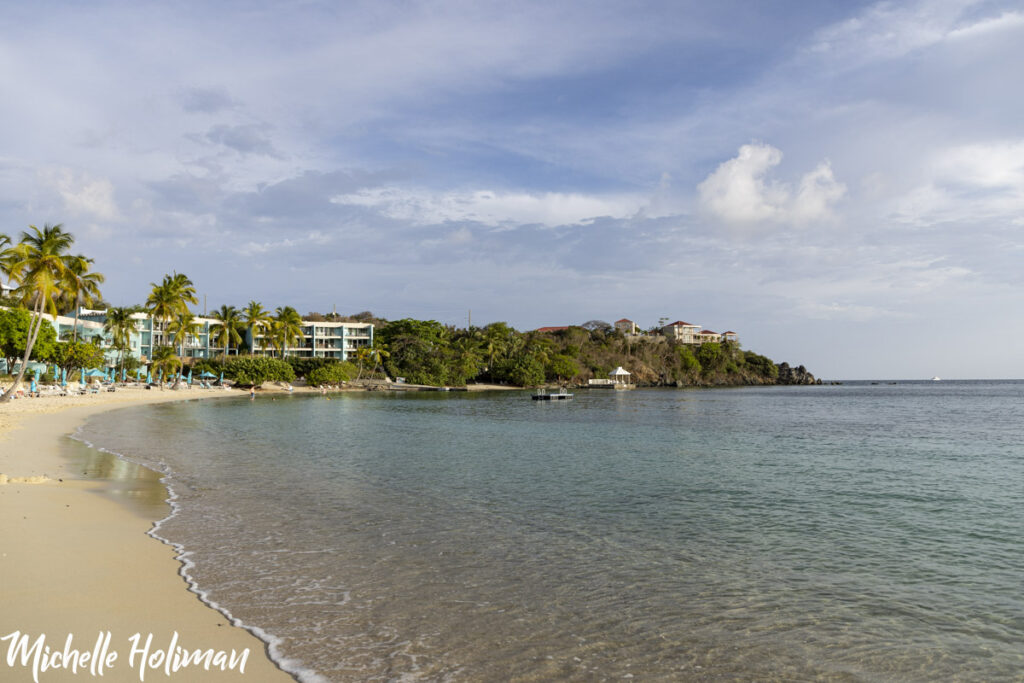
Food Worth Trying
If you are visiting the US Virgin Islands during peak season, it is a REALLY good idea to reserve a table in advance. This is especially true if you want to experience a specific restaurant. Tables fill up quickly, particularly if they have a beautiful view.
- Taphaus – While maybe not a food place specifically, this bar is a great spot to stop, grab one of the MANY amazing drafts, and continue walking around the historic shopping streets in Charlotte Amalia
- Side Street Pub – this is a GREAT taco spot, but it also has your typical pub food like burgers and adult beverages. Let me tell you, when you get off the plane hungry, a fish taco from here hits like no other food.
- Greenhouse Restaurant – this one is a spot to go if you want some fun and cute restaurant vibes. It was also less busy than some of the other places the night I went, and not waiting in a line is a huge plus. I wouldn’t say the food was the BEST I’ve had, but it was pretty good.
- Gladys Café – if local flavors are more your style, this spot is a MUST. From Conch Fritters (100% a must try) to specialty hot sauce (made in-house) this café is sure to delight.
- Lanai Restaurant (at the Limetree) – just outside the main hub of Charlotte Amalie, this little restaurant has awesome views of the ocean, and is a great place to enjoy an evening drink. I was surprised at how good the food was too!
- Sunset Grill at Secret Harbor – this spot is PERFECT for dinner while watching the sunset (as the name suggests.) For a spectacular afternoon, snorkel in Secret Harbor, dry off in the sun, and grab dinner here.
St John
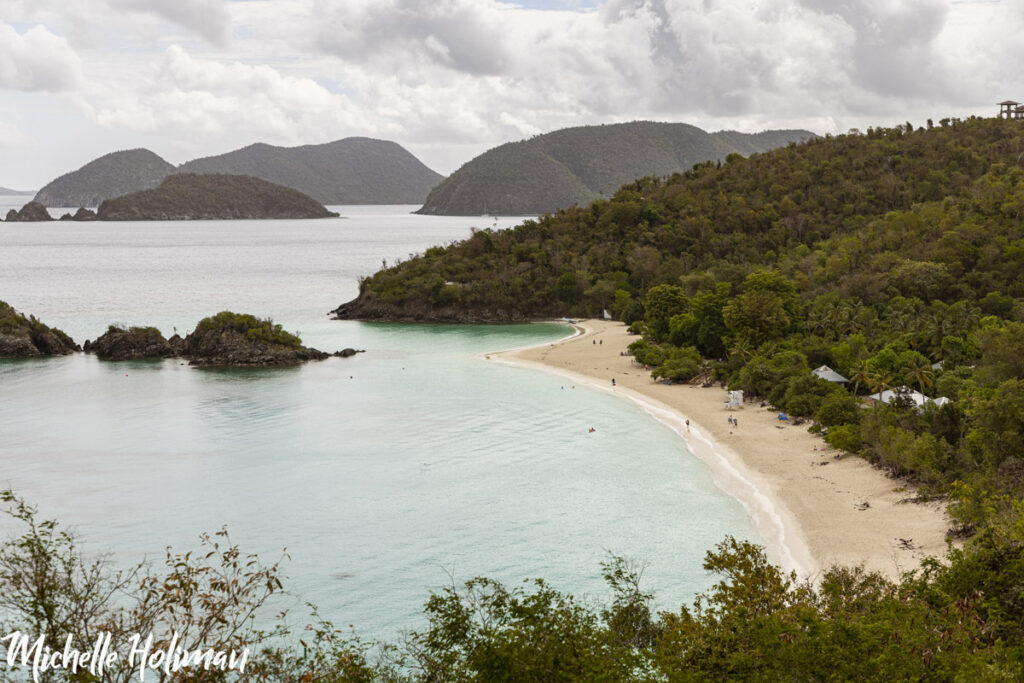
A quick 20-minute ferry ride from Red Hook lies the jewel that is St John. Roughly 60% of the island is National Park land, which makes St John an adventure lover’s dream. More rugged and significantly less developed as a tourist hotspot, this island boasts beautiful hikes, quiet beaches, and preserved historic sites. If you love the outdoors, this island should definitely be on your list when you are visiting the US Virgin Islands.
Except for Cruz Bay, much of the island is rural. This means many of the roads are steep and speckled with potholes, and many hotels and accommodations are located in one place. When I looked into booking a hotel, I was surprised at how limited the options were in comparison to St Thomas and how the prices were significantly higher. If you hope to visit St John on a budget, try booking during the off season or searching for Airbnb/VRBO stays outside of Cruz Bay.
As a heads up, if you book in a more rural area, be prepared for simpler accommodations. The trade-off in price comes with a trade-off in amenities like paved roads, accessible spaces, or even air conditioning. If that is not worth it to you, swing the extra and get a spot in Cruz Bay.
Beaches
- Trunk Bay – this beach was my FAVORITE on the whole island. While one of the most popular beaches, it is well worth the crowds. There is an entrance fee of $5 per person, but it is most certainly worth it. The sand is soft, the water is clear, and there is a snorkeling trail! I saw stingrays, nurse sharks, many tropical fish, and lovely corals here.
- Honeymoon Beach (yep, same name as the one on Water Island in St Thomas) – This beach is accessible by hiking in the National Park via Lind Point Trail. Because of this, the beach itself was less crowded. We spotted sea turtles here over the seagrass fields. A hike and then a swim with sea turtles makes for the perfect half-day adventure.
- Salomon Bay – further down the trail from Honeymoon Beach is Salomon Bay. Both of these beaches are a good choice if you want a more isolated beach experience. Many visitors don’t hike into this beach, so it is perfect for a secluded afternoon of relaxation and snorkeling. Plus, because it is less visited, you are more likely to spot wildlife. A win-win!
- Cinnamon Bay – beautiful, pristine, and undeveloped (are you seeing a trend with these beaches?) This beach is one of the longest stretches of shoreline in St John. It also has ruins, both on the beach and via a hike into the lush jungle to see even more of the Cinnamon Bay Plantation Ruins. If a 2-mile hike is not for you. You can access the plantation ruins from a different trailhead, which turns the adventure into a walk rather than a hike.
- Maho Bay – another great and popular beach, perfect for relaxing and spotting sea turtles. There is an area with a selection of food trucks and beach bars, making this area a great spot to stop for lunch after relaxing on the beach.
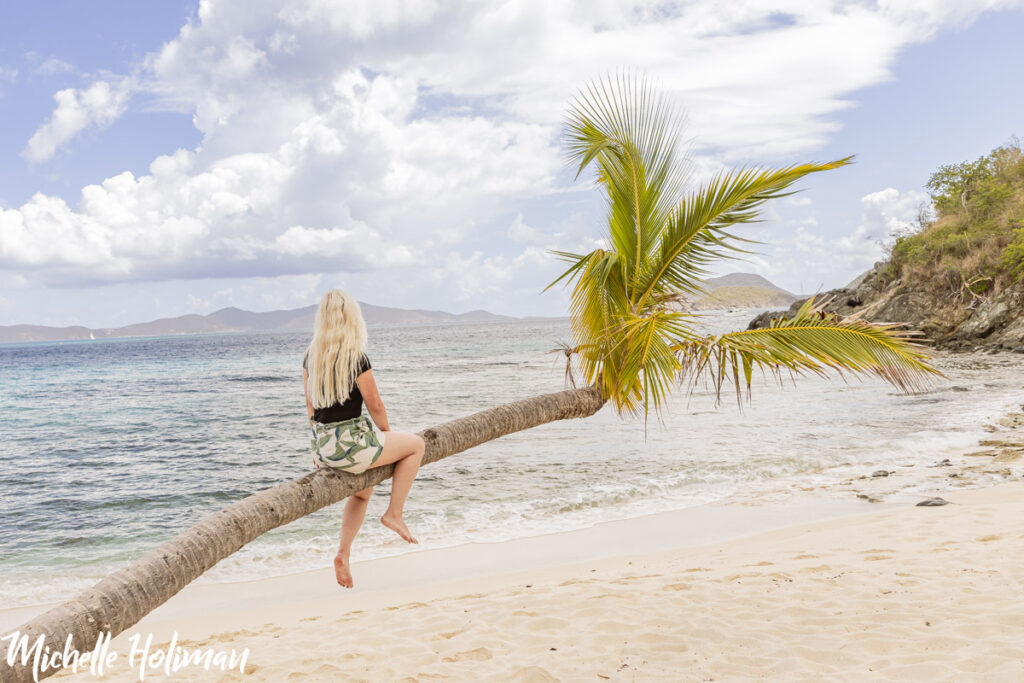
- Oppenheimer/Gibney Beach – this spot goes by two different names and requires a little hiking to get to. Because of this, it was less busy than the 3 larger beaches (Trunk, Cinnamon, and Maho.) This beach became iconic for the tire swing attached to a low palm tree that extends out over the ocean. I learned after visiting that the tire swing had been knocked down during a storm, but the palm tree is still there. This is a great spot for a photo.
- Hansen Bay Beach – on the far east end of the island, this beach was one I had entirely to myself. During the day, there is the opportunity to rent a paddleboard or kayak and explore the calm waters. As a heads up, this is a free beach to visit, but it is a family-run spot. The family will often introduce themselves to you, showing you the rental opportunities and inviting you to enjoy the beach. There is a donation box at the entrance, with all donations going to the care and upkeep of the beach. The family is super sweet and they work hard to maintain the beautiful beach. Consider dropping some money into the box if you are able!
Views
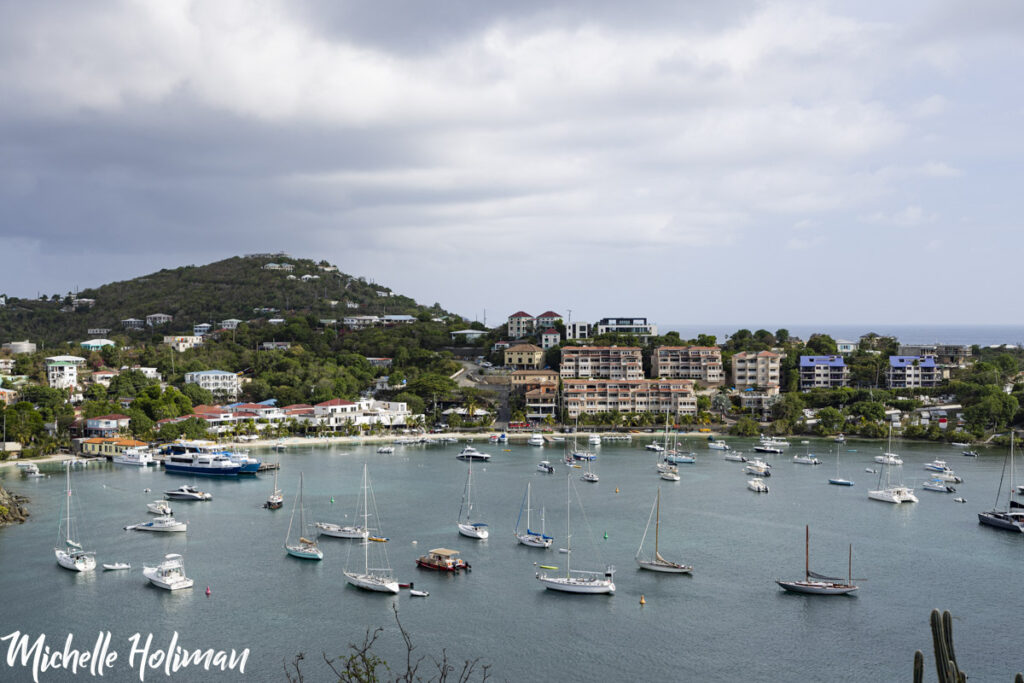
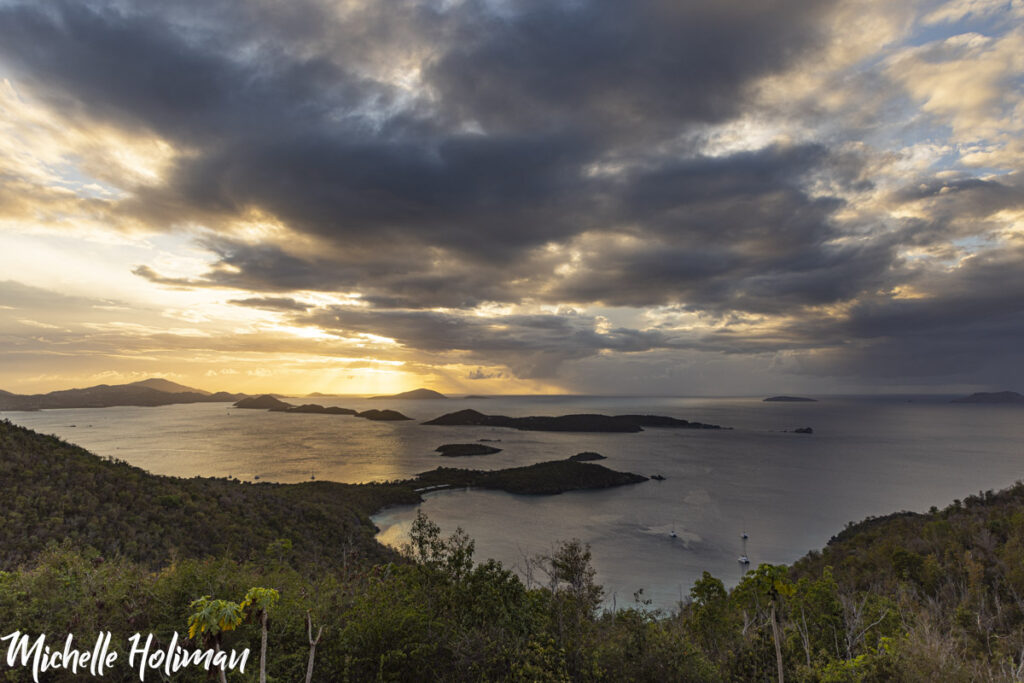
- Lind Point Trail Overlook – a quick side trail, this viewpoint excellently showcases the entirety of Cruz Bay. The drop off is pretty steep, so views are unobstructed for miles and miles.
- Peace Hill Trail – a short hike with two amazing views. Once at the top, you can explore the ruins of the Peace Hill Windmill and take in the sweeping vista. On your left (to the west) is Hawksnest Bay, and to the right (the east) is Trunk Bay.
- Coral Bay to East End Drive – steep, but not too technically challenging, this drive brings you up and over the spine of a high mountain. From the top are incredible views of the ocean on each side of you. This is a great way to enjoy the views without hiking.

Must Do
- Hit up the National Park – check this spot off your National Park Bucket List and enjoy the amazing hikes and views this area has to offer. If you plan to hike Reef Bay, there is the option to take a boat back from the beach through the National Parks Service. This is limited to specific days of the week. Be sure to check the visitor center to help plan your trip accordingly
- Annaberg Sugar Plantation – not only are the views from Annaberg incredible, but this area is one of the best preserved plantations on the island. While the architecture that remains is beautiful, this spot intentionally showcases the dark past of sugar cultivation and enslaved peoples. Much like Fort Christian, this spot is worth seeing and honoring the people upon whose labor and suffering built virtually the entire sugar industry. I deeply believe that if you are visiting the US Virgin Islands, you should take some time to experience this history.
- Catherineberg – another beautifully preserved windmill. This spot is much less visited than Annaberg. Though it is smaller, it has its own unique value (hence its appearance on this list.) I particularly love looking through the cone of the windmill and seeing the ferns growing in the crevices. This makes for a lovely photo.
- Francis Bay Trail – This trail is not for everyone. It is beautiful, don’t get me wrong! I did the loop to explore the boardwalks, the ruins, and do some birdwatching. In this regard, this trail DELIVERS, but some say it was a little less cool than other spots on the island. If nature walks aren’t your thing, this is an easy one to skip. There is a great side trail that leads to Francis Bay Beach, which is the perfect spot for a picnic.
- Mumbo Jumbo – for reasonably priced clothing and souvenirs, this spot in Coral Bay is a TREASURE. Seriously, I am not a huge shopper, but I had so much fun looking through the cute selection of things.
Food Worth Trying
Plan ahead when visiting the US Virgin Islands! If you are like me, you plan on packing snacks for your hike (trail mix, granola bars, etc.) Know that if you buy these on St John, they will be more expensive. Most of these items must be shipped in, thus driving the costs up. Save some money by bringing necessities like this in advance.
Another important side note before I dive in!
Mongoose are a regular part of the island’s wild population. They are clever, smart, and sneaky. You don’t believe me?
I had two granola bars and 2 small bags of almonds at the bottom of my clipped shut, roll-top backpack. This bag I left on a secluded beach and underneath a beach towel, before snorkeling for 15 minutes. In that timeframe, two mongooses moved the towel, unrolled one side of the backpack top, dug through ALL of the other things in the bag to the bottom, and ripped the snacks to shreds. By the time I got back to the shore, they were squeaking and quarreling over the last granola bar. I was shocked and had to do the cleanup of shame, looking at the carnage of ripped-up wrappers.
The moral of the story? SECURE YOUR SNACKS! Put them in a compartment that zips up. For enhanced safety, lock them in a safe and bury that in the ground. Hopefully, that is enough to deter these crafty creatures.
Funny story over, now onto the recs.
- The Windmill Bar – the food here is probably a 7/8 out of 10, but the vibes are a 10, and the Views are a 12. Try to get here right when they open for lunch to grab a spot at the edge of the patio. They often have live music too!
- The Beach Bar – a great spot to watch the sunset! The food is basic – nachos, tacos, burgers, and fresh fish – but it is pretty good!
- St John Brewers – A great spot for locally brewed drafts and good food! The vibe here is nice, and the air conditioning is a welcome reprieve on a hot day.
- Sun Dog Café – nestled in Mongoose Junction, this is a great spot to stop after perusing the surrounding shops. On a nice day, sitting under an umbrella and eating a fish taco is hard to beat.
- Skinny Legs (in Coral Bay) – Trying a Painkiller is a must when visiting the US Virgin Islands, spot is said to have the best. While many places claim this on their menu, I have to agree that the balance of flavors that Skinny Legs has in their painkiller is my favorite. The food is good too, and the vibe is laid back and fun.
- Lime Out – this is only accessible by chartering a boat or taking a tour that drops you off, for a really specific reason. This restaurant is floating in the middle of Coral Bay. Tacos? Floating over the water? Yes. This is a truly unique experience.
St Croix
The 3rd island in the US Virgin Islands is the proverbial chill older brother – St Croix. It is the least developed of the three islands, but it is full of rich history, sparkling beaches, and enjoyable experiences. Add this to your itinerary if you have a little more time when visiting the US Virgin Islands.
Of the three islands, St Croix felt the most laid-back and easygoing. You miss out on the hustle and bustle of St Thomas, and there is more land mass to spread out on than on St John. Now, onto the recommendations!
Beaches
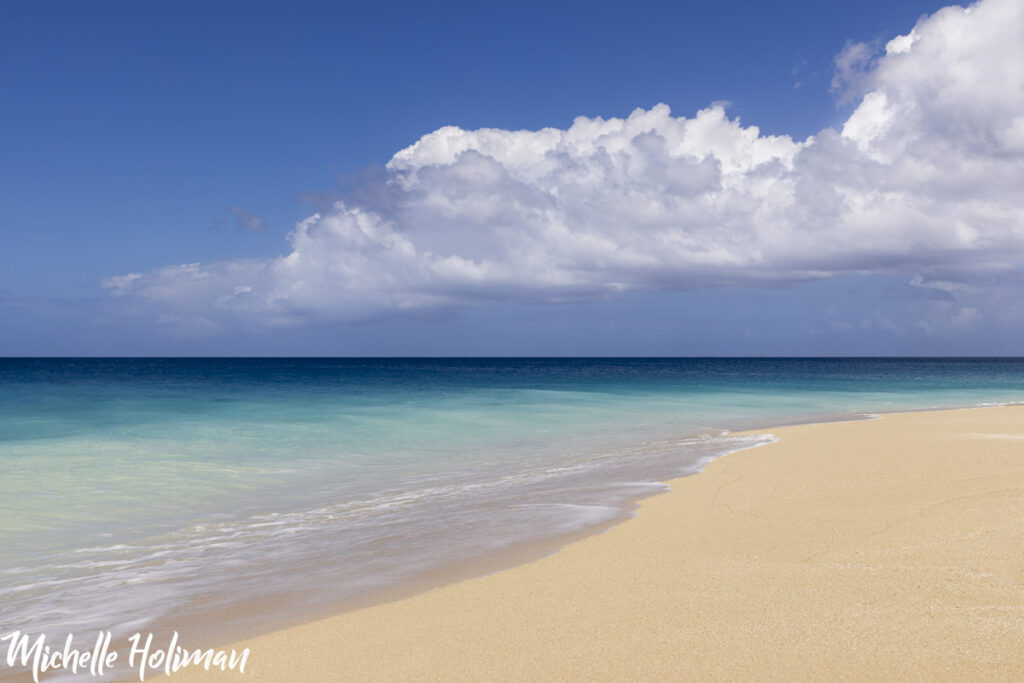
- Sandy Point Beach – this is perhaps the most important read if you plan on visiting the US Virgin Islands. Sandy Point is a national treasure in my humble opinion. This beach is primarily a national wildlife refuge. Like most protected areas, human access is limited. Always closed April – August to create a safe habitat for nesting sea turtles. Outside of this timeframe, it is ONLY OPEN on weekends. Plan your trip accordingly. Fun fact about this beach: Castle Rock Entertainment filmed the final scene of The Shawshank Redemption here.
- Cane Bay – this was the BEST snorkeling on the island itself in my opinion. There is a chance of seeing eagle rays here, but the coral garden is gorgeous on its own. I saw sea turtles and barracuda here too!
- Jack and Isaac’s Bay – accessible by a hike from Point Udall, these two beaches are lovely spots to hang out and relax. There are many driftwood shelters that make for a great photograph. The hike isn’t terribly tough, but it can be a little challenging in certain spots.
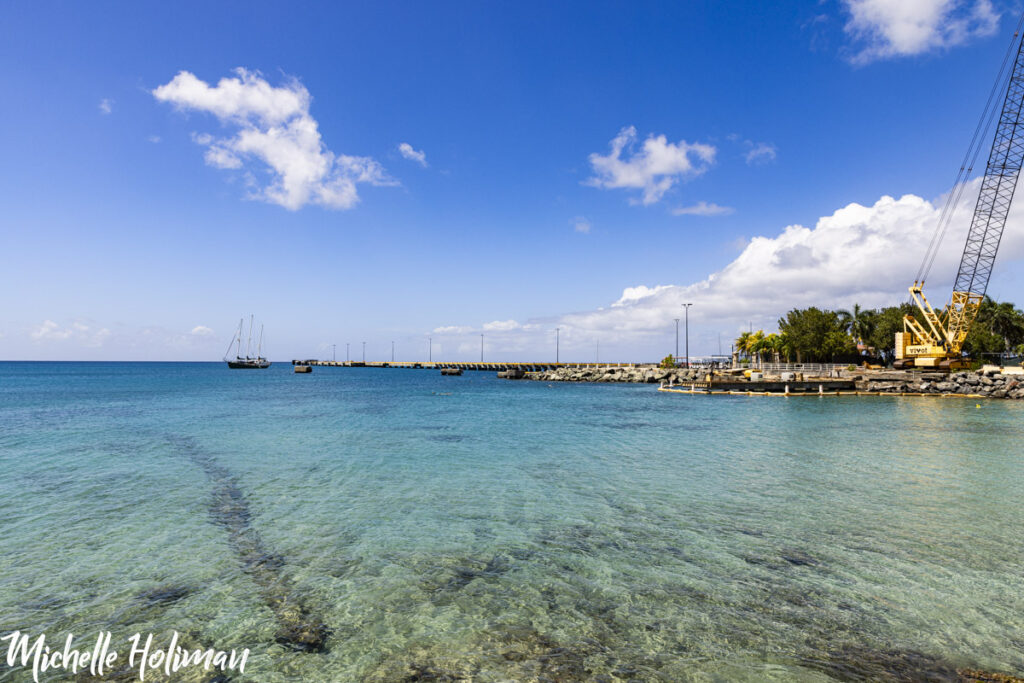
- Frederiksted Pier – this is not a sandy beach to relax on, but it does have incredible snorkeling and scuba diving. I particularly liked paddling around the older pier supports, but swimming under the main pier is fun too. Plan this in advance as well – if there is a cruise ship docked, you cannot snorkel here.
- Protestant Cay – a quick $5 ferry ride from Christiansted to Protestant Cay will reward you with a lovely beach. With a bar bumping music, and a great Barbecue spot, the fun vibes of this beach are tangible. As a bonus, if you stay at the hotel, the ferry ride is free, and you can relax on the beach after everything has closed and the world is quiet and dark.
- Rainbow beach – this gorgeous beach is close to the pier, so it can be quite busy when a cruise ship is at the port. The fun vibe and sparkling waters are a great stop for the afternoon, and the restaurant on the beach is quite good.
Views
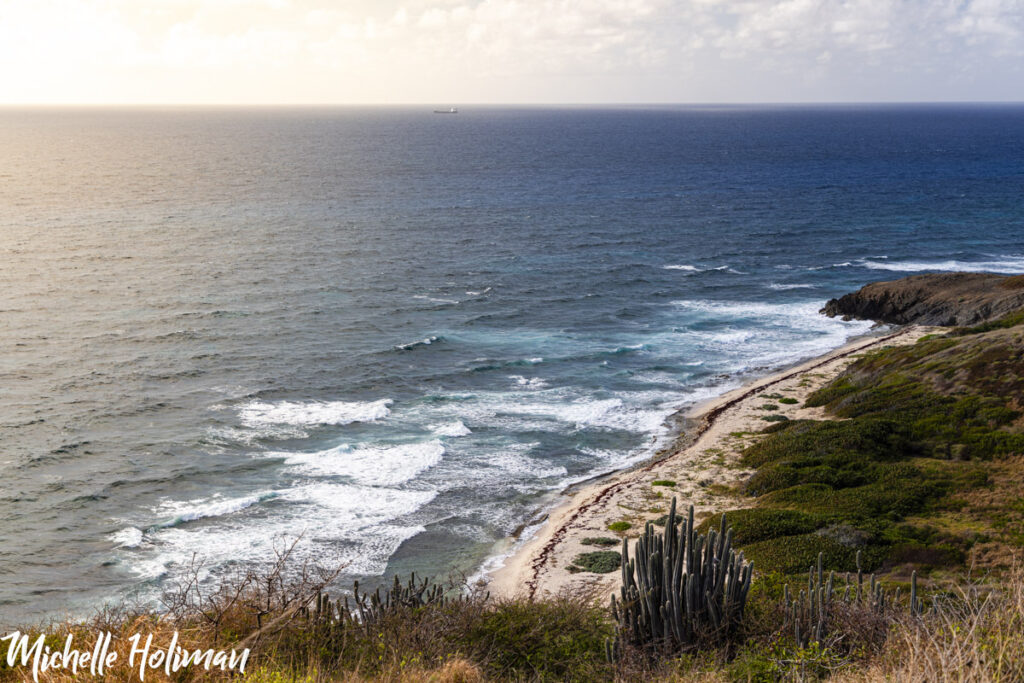
- Point Udall – panoramic views of the surrounding ocean and a unique sundial monument make this a truly unique viewpoint. It also connects to Jack’s and Isaac’s bay via a nice hike. Visit this spot in the morning, enjoy the hike down, and be back in time for lunch!
- Drive around Salt River Bay via Northside & North Shr Road – as the road climbs higher, you get a nice view of the ocean and Salt River Bay
Must Do
- Buck Island Day Trip – I traveled to Buck Island with Big Beard Tours, and I can say that this was the Highlight of my St Croix trip. Buck Island is a national monument, with the majority of the protected land under the water. While Cane Bay had the best snorkeling on the main island, Buck Island had the best snorkeling in the entirety of the US Virgin Islands (in my opinion, of course.) After the cruise, exploring the beach, and snorkeling, you finish off with a really good barbecue lunch – the mahi is to die for – before cruising back.
- Dive the Cane Bay Wall – if you are a scuba diver, you probably have heard of The Wall at Cane Bay. With a 1,400 drop, this is a diver’s dream spot. I did not personally do this dive, simply because of time constraints on my trip, but I will 100% do it when I go back. If the diving is anything like the snorkeling (which I have been told is even better), this is an adventure not to be missed.
- Tour the Cruzan Rum distillery – while I am a lightweight when it comes to alcohol, and as such, I don’t drink a ton, this tour was fascinating. It was super cool to learn the history of rum, the distillery, and see firsthand how it is made. I really didn’t expect to like this tour as much as I did. The tour concludes with a rum tasting and two cocktails of your choice!
- Bioluminescent Bay Kayak Tour – PLAN AHEAD!!! You can only do this during darker moon phases, but if you can swing it, this is a SPECTACULAR experience. I am so grateful for the jellies and dinoflagellates that make this water sparkle bright blue when you paddle through it. While this is hard to photograph, the experience is top-notch. I recommend going with Bush Tribe Eco Adventures and getting the clear kayak so you can see the bioluminescent activity as you glide over the waters.
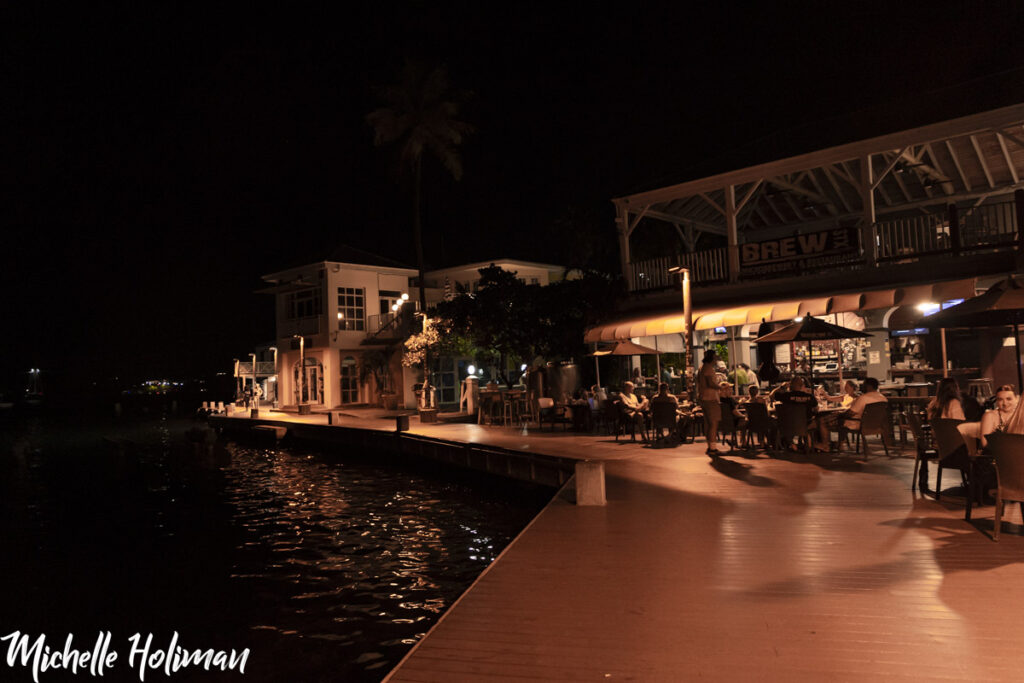
- Stroll the Christiansted Boardwalk – from cute shops, to bars, and tasty restaurants, this free activity is a great way to get a feel of the city. At night, buskers play music, and lights from the buildings sparkle over the ocean. Keep an eye out for the huge tarpon swimming right along the boardwalk!
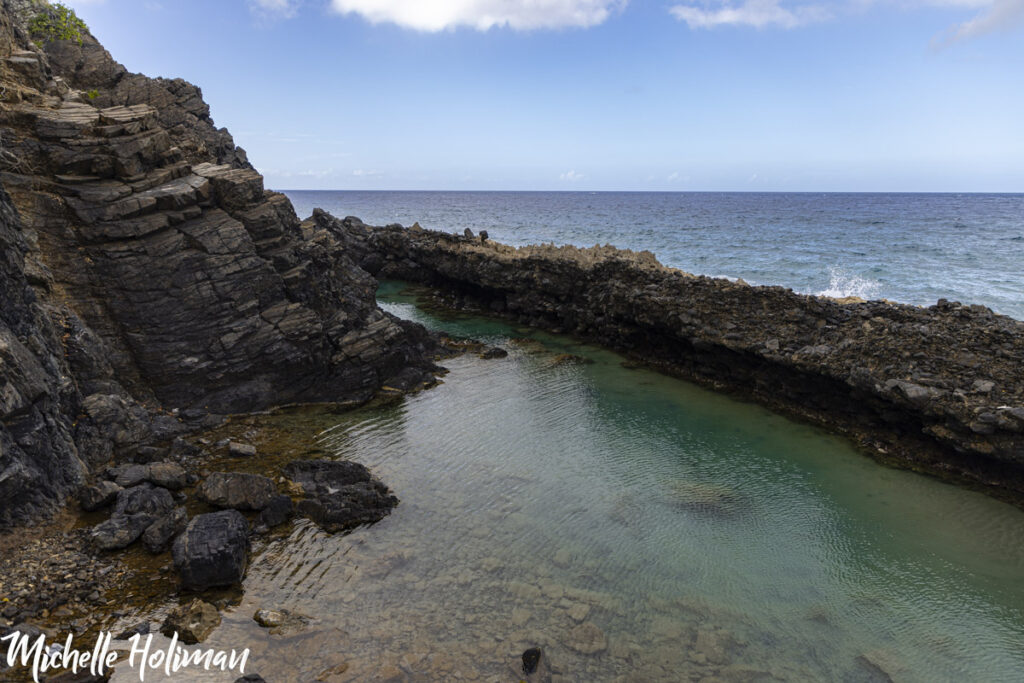
- Tide Pools at Annaly Bay – for those who love to hike, this is a GREAT trail. This sub-3-mile hike rewards you with massive tide pools perfect for swimming. The climb over the rocks from the beach is not for the faint of heart. Bring hiking shoes!
Food Worth Trying
- CHUPACABRA TACOS – Of all the food I enjoyed in St Croix, this was my all-time favorite. With homemade tortillas, fresh fish, and slow-cooked meats, Chupacabra’s is a mouthwatering, hunger-satisfying, star-eyed emoji experience.
- Hamilton’s – for an upscale meal in Christiansted, look no further than Hamilton’s. Be sure to reserve a table in advance; this place is small, so it fills up quickly. You may get lucky like I did and grab a place at the bar, but this isn’t a guarantee. This spot is perfect for a fancier date.
- The Mill Boardwalk Bar Brick Oven Pizza – wood-fired pizza and good vibes in this small, open-air restaurant right on the Christiansted Boardwalk.
- Shupe’s – great views, right on the boardwalk, and reasonably priced. Enough said!
- Virgin Islands Coffee Roasters – for great quality coffee and breakfast, this and Rouge Café (down below) are hard to beat. As coffee snobs, my husband and I rated the two. For black drip coffee and pastries, Virgin Island Coffee Roasters is a winner.
- Rouge Cafe – If lattes and artisanal breakfasts are more your style, this is the place to go (beating Virgin Islands Coffee Roasters in these categories.) The hummus toast was especially delicious. I loved the interior design of this one as well.
- Ama at Cane Bay – Outside of Christiansted, this restaurant has upscale prices, decent food, but the views are spectacular. When booking in advance, book the Ocean Side Grotto Seating for around sunset and have the most scenic dinner ever.
- Sion Farm Distillery – home to the small but popular Mutiny Island Vodka brand, the food here is good and at a good price. Plus, you can catch a free tour of the Distillery after your meal.

Thank you so much for reading! This has been your Ultimate Guide to Visiting the US Virgin Islands! Share this with your travel buddy and, as always, happy traveling!
Save this for later on Pinterest!


